

Living by the Pacific is a gift, but the same sea breezes and salt spray that make Oceanside beautiful can test the strength of your roof. In this guide, you’ll discover why the right materials, fasteners, and maintenance habits let a coastal roof shrug off storms while giving solar panels a sturdy, long-lasting platform. By the time you’re done reading, you’ll have a clear checklist you can use when talking with contractors-or when climbing the ladder for a quick visual check yourself.
Coastal Wind Ratings
When a winter storm roars through, gusts can push 90 mph along exposed ridgelines. Your roof’s first defense is a rated system that matches or exceeds local code. Shingles and metal panels are lab-tested on giant fans that mimic real squalls; look for labels showing ASTM D7158 or D3161 compliance(see https://store.astm.org/d7158_d7158m-20.html). These tests simulate repetitive gusts so you know the roof can survive more than just one big blast.
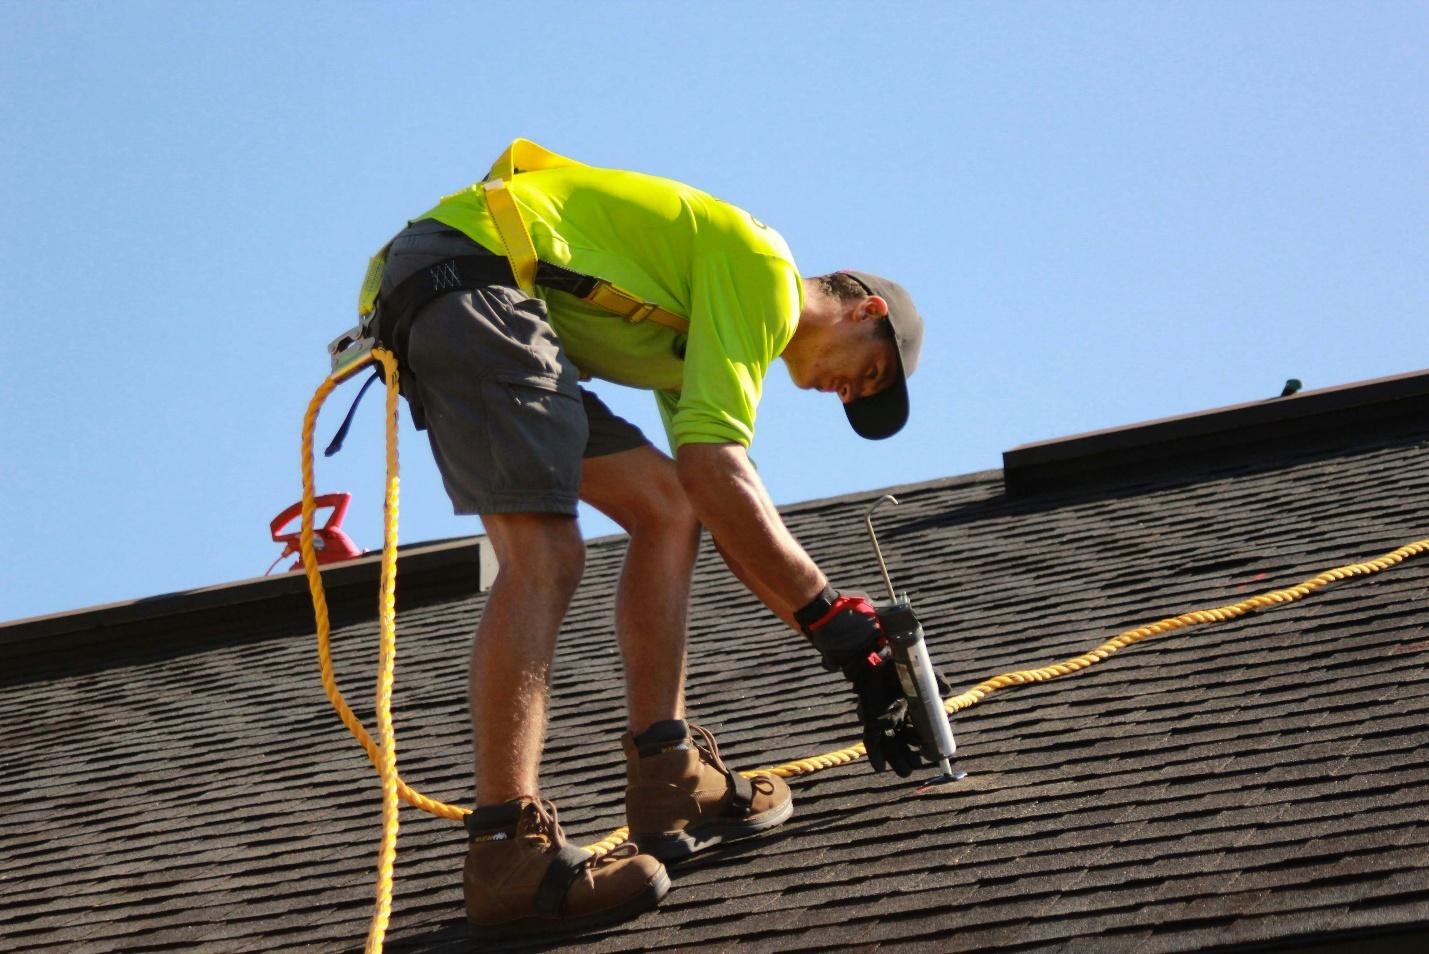
- Proper nail patterns: Fasteners should be driven flush-never over-sunk-to avoid tear-outs that start leaks. A ring-shank nail has ridges that grip plywood like teeth, helping hold shingles tight.
- Secure ridge and edges: A well-fastened ridge cap, paired with edge metal tucked under a starter row, closes the wind’s favorite entry points. Where gable ends meet fascia, use metal drip edges to keep uplift from sneaking beneath the first course.
- Continuous sheathing: Modern codes favor full plywood decking instead of spaced planks; the solid surface limits twisting and flexing in a gale.
Those small details are what keep shingles from peeling up like pages in a book during the fiercest coastal gusts. Spend the extra few minutes confirming them now, and you’ll save hours of patch-up work after the next storm rolls through.
Salt-Air Corrosion Myths
Many homeowners worry that salt crystals will rust metal roofing within a year. In truth, modern finishes resist pitting far longer than the rumors suggest because Galvalume and aluminum panels form protective oxide layers that stop deeper corrosion. In fact, many manufacturers back their coastal-grade paint systems with 25- to 40-year fade warranties.
- Marine-grade clips and screws: Polymer-coated heads block moisture and limit galvanic reactions, preventing rusty streaks that can stain siding. Stainless fasteners cost a bit more, but they outlast standard zinc in high-spray zones.
- Routine rinsing: A quick hose-down after storms removes salt and bird droppings, preserving both color and warranty. Aim for every three months if you’re less than a mile from the shoreline.
- Avoid mixing metals: Keep copper pipes or decorative flashings from touching aluminum panel edges, because dissimilar metals can create tiny battery-like reactions.
Concerns about chemical reactions between panels and stainless solar stanchions are mostly outdated: manufacturers run years-long spray tests proving compatibility. Ask for lab data if you’re curious-reputable suppliers are proud to share it.
Do I Need Hurricane Straps?
Building codes south of Los Angeles already demand stronger tie-downs than inland zones, but hurricane straps add yet another level of security. These metal brackets link rafters to wall plates so uplift forces must rip out the entire frame-not just pry off the roof deck. Straps are inexpensive, and most can be retro-fitted from inside the attic without removing drywall.
- Ideal for older homes: If your house predates the mid-1990s, an attic inspection makes sense. Older framing often used smooth nails driven at awkward angles, giving wind a weak spot to exploit.
- Fastener upgrades: Confirm that roof installations include ring-shank nails or screws, whose threads grip plywood even when wind pulses. Where sheathing meets rafters, eight-penny nails are no longer enough; structural screws add holding power and resist withdrawal.
- Continuous-load path: From foundation bolts all the way to ridge caps, each connection should pass forces seamlessly downward. A licensed structural engineer can map this path and highlight gaps.
That same visit is the perfect time to review structural load calculations for future solar arrays, ensuring straps and rafters work together. Remember, a chain is only as strong as its weakest link.
Solar Mounting Load Limits

Solar panels add roughly 2–4 lbs per square foot-less than a clay-tile overlay but still worth planning for. An engineer computes point loads where stanchions bolt to rafters, then checks uplift, because strong wind can try to lift panels like wings. See this link for more details.
- Low-profile racking: Keeping modules close to the deck cuts leverage in a gale and minimizes shade -induced hot spots on adjacent panels.
- Flash-in stanchions: Raised butyl rings compress for watertight seals, protecting the roof deck. Quality flashings come pre-shaped to match common shingle profiles, saving labor on-site.
- Coastal-rated modules: Choose PV panels certified to IEC 61730 humidity standards to prevent long-term degradation. Look for a performance warranty that guarantees at least 80 percent output after 25 years.
- Balanced string design: Inverters and optimizers should be placed to limit voltage drop and avoid heavy conduit runs that could tug on racking in high wind.
- Future serviceability: Leave a 3-foot perimeter around arrays so technicians can walk safely for cleaning or repairs without stepping directly on modules.
Pair these components with energy-efficient shingles that reflect heat, keeping attic temperatures down and panel output up. A cooler roof means a more productive photovoltaic array year-round.
Yearly Inspection Checklist
Even the best roof benefits from a quick annual once-over:
- Visual scan from ground level – look for lifted edges, missing granules, or mismatched colors. Use binoculars to spot cracked ridge shingles without climbing.
- Gutter and downspout cleaning – clear debris each fall to keep runoff away from fascia and foundations. Clogged gutters can back-up water and rot the sub-fascia in a single rainy season.
- Sealant check – inspect pipe boots, skylight curbs, and solar-ready flashing for cracks; re-caulk when gaps appear. Silicone or high-performance MS polymers adhere best in salty air.
- Panel hardware torque – tighten stanchion bolts to manufacturer specs to prevent vibration loosening. Most systems call for 12–16 ft-lbs; a small torque wrench costs less than a service call.
- Roof deck waterproofing inspection – if you feel soft decking underfoot, call a pro before leaks spread. Wet OSB swells and pushes nails out, so early replacement saves money long-term.
- Inverter status light check – a solid green LED means production is steady, while a blinking red usually signals a communications fault that you can catch before energy bills spike.
Most homeowners can handle the first two steps with a ladder or binoculars. For the rest-especially hardware checks-hire a licensed roofer who also understands PV maintenance. Combining services saves a second trip fee and ensures both roof and solar warranties stay valid.
By matching materials to marine conditions, fastening them with hurricane-tested methods, and scheduling simple checkups, you give your Oceanside home a roof that thrives where sea meets sky. That same attention to detail lets your solar array harvest clean energy for decades without fear of leaks or uplift. When you know what to ask for-and what to look out for-you can enjoy coastal living and sunshine savings under one dependable, storm-ready roof. The ocean view may be priceless, but peace of mind under a well-built roof is the next best thing.